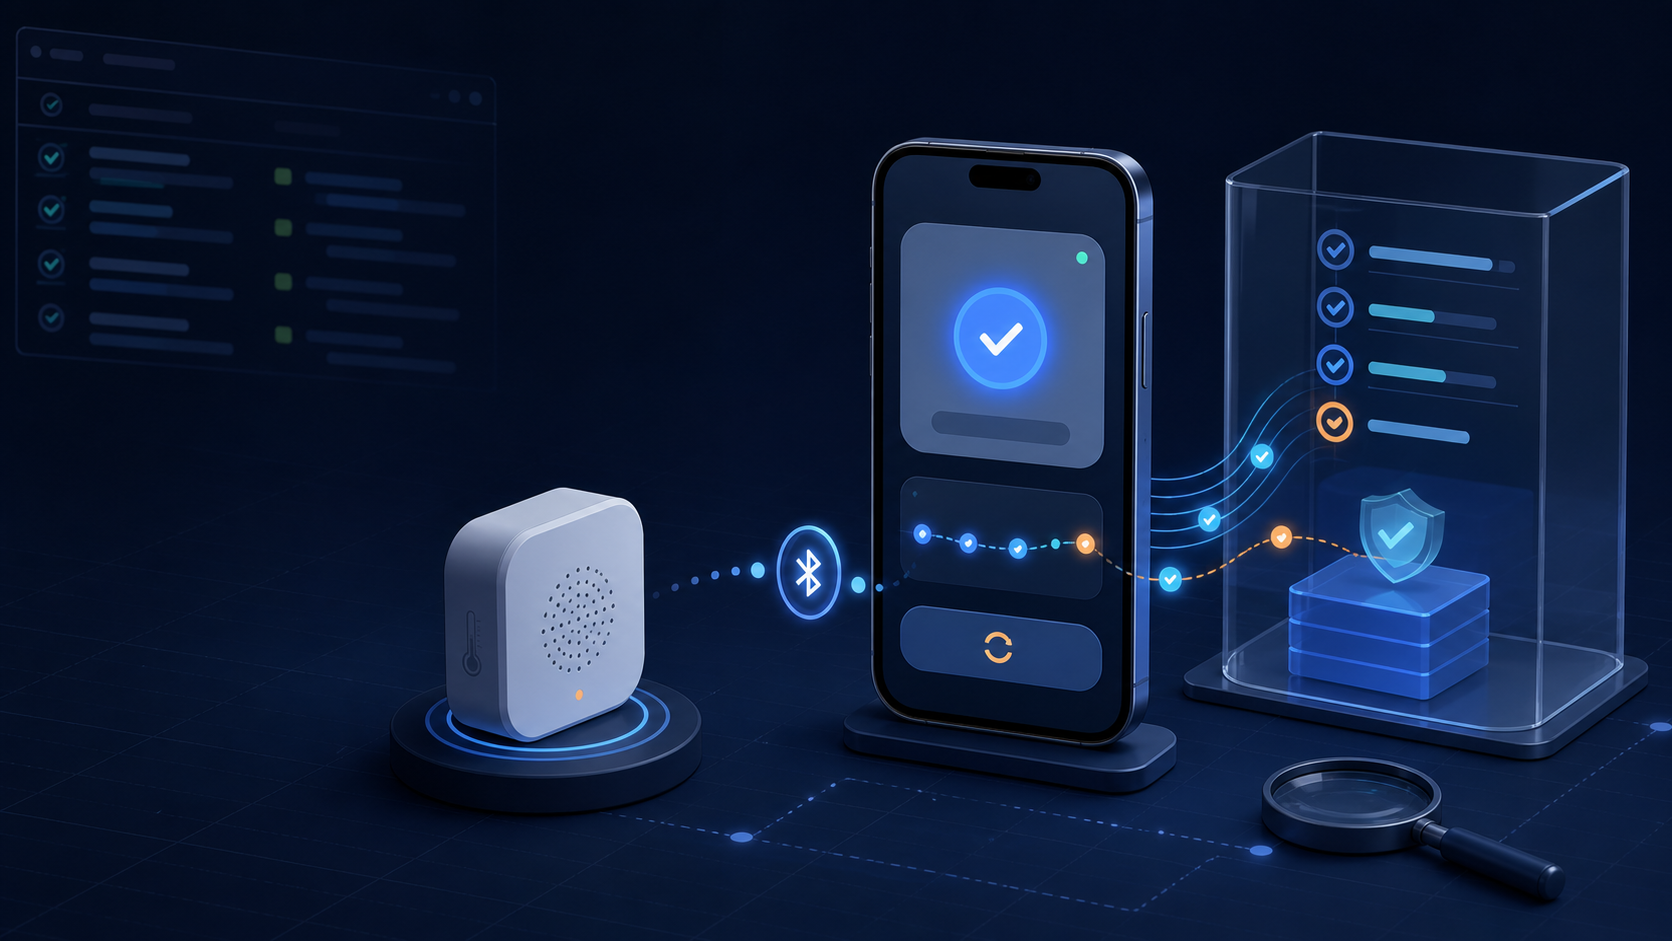
그림에서 볼 부분은 BLE 기기 이벤트가 앱 화면에 바로 닿지 않고 테스트 가능한 스트림과 명령 계층을 거친다는 점이다.
Flutter IoT 앱에서 StreamNotifier는 단순히 값을 보여주는 StreamProvider와 역할이 다르다. BLE 연결 상태를 흘려보내면서 reconnect()나 disconnect() 같은 명령도 제공한다. 처음에는 상태 스트림만 확인하면 테스트가 끝난다고 생각했다. 해보니 재연결 버튼이 실제로 한 번 호출됐는지, 실패했을 때 에러 상태가 나오는지, 화면을 나간 뒤 구독이 닫히는지를 따로 검증해야 했다.
테스트 대상은 Fake 서비스로 격리한다
실제 flutter_blue_plus를 테스트에 넣으면 iOS 실기기와 권한 상태가 따라온다. CI에서 BLE를 연결할 수 없으므로 Wrapper를 만들고 Fake가 이벤트를 직접 흘리게 했다.
class FakeBleService implements BleService {
  final states = StreamController<BleConnectionState>.broadcast();
  int reconnectCount = 0;
  bool closed = false;

  @override
  Stream<BleConnectionState> watchConnection(String deviceId) => states.stream;

  @override
  Future<void> reconnect(String deviceId) async => reconnectCount++;

  Future<void> close() async {
    closed = true;
    await states.close();
  }
}
Fake의 reconnectCount와 closed는 테스트를 위한 Spy 역할도 한다. Fake 안에 있는 StreamController까지 ProviderContainer.dispose()가 자동으로 닫아준다고 기대하면 안 된다.
상태와 명령을 나눠서 검증한다
아래 Provider는 실제 프로젝트의 연결 Notifier를 단순화한 예다. 코드 바로 아래 테스트에서 이벤트 순서와 명령 호출을 각각 확인한다.
final bleConnectionProvider = StreamNotifierProvider.autoDispose
    .family<BleConnectionNotifier, BleConnectionState, String>(
  (ref, deviceId) => BleConnectionNotifier(
    ref.watch(bleServiceProvider),
    deviceId,
  ),
);

test('BLE 상태 스트림을 받고 재연결 명령을 한 번 실행한다', () async {
  final fake = FakeBleService();
  final container = ProviderContainer(
    overrides: [bleServiceProvider.overrideWithValue(fake)],
  );
  addTearDown(() async {
    container.dispose();
    await fake.close();
  });

  final states = <BleConnectionState>[];
  final sub = container.listen(
    bleConnectionProvider('boiler-01'),
    (_, next) => states.add(next.requireValue),
    fireImmediately: false,
  );
  addTearDown(sub.close);

  fake.states.add(BleConnectionState.disconnected);
  fake.states.add(BleConnectionState.connecting);
  fake.states.add(BleConnectionState.connected);
  await container.read(bleConnectionProvider('boiler-01').notifier).reconnect();

  expect(states, [
    BleConnectionState.disconnected,
    BleConnectionState.connecting,
    BleConnectionState.connected,
  ]);
  expect(fake.reconnectCount, 1);
});
여기서 fireImmediately: false를 지정한 이유는 초기값과 실제 BLE 이벤트를 섞지 않기 위해서다. 초기 연결 상태까지 콜백에 들어오면 이벤트 개수를 검증하는 테스트가 쉽게 흔들린다. 또 StreamController에 이벤트를 넣은 직후 바로 expect하지 않고 await가 포함된 명령을 한 번 거쳤다. Riverpod이 스트림 이벤트를 전달할 시간을 명시하는 습관이 필요했다.
실패 상태와 dispose도 별도 테스트로 둔다
재연결 서비스가 예외를 던지는 경우에는 성공 이벤트 목록과 섞지 말고 에러 상태를 확인한다. 실제 구현에서 AsyncValue.guard를 사용한다면 expectAsync1보다 container.read(provider).hasError를 확인하는 편이 의도가 분명하다.
| 검증 항목 | 확인할 값 | 놓치기 쉬운 문제 |
|---|---|---|
| 스트림 순서 | disconnected → connecting → connected | 이전 이벤트가 남은 공용 Fake |
| 명령 호출 | reconnectCount == 1 |
버튼 중복 탭, 무한 재시도 |
| 예외 전파 | hasError == true |
에러를 loading으로 덮어씀 |
| 자원 정리 | closed == true |
화면 이탈 뒤 BLE 구독 누수 |
솔직하게 정리하면 StreamNotifier 테스트에서 가장 오래 걸린 부분은 상태 자체가 아니라 정리 순서였다. subscription.close()와 ProviderContainer.dispose(), Fake의 StreamController.close()를 테스트마다 소유하게 만들고 나서야 간헐적인 중복 이벤트가 사라졌다. Flutter IoT 앱에서 BLE 재연결을 테스트할 때는 실제 기기 연결보다 이벤트 순서와 명령 횟수를 고정하는 것이 먼저다.
StreamNotifier는 상태 스트림과 명령 메서드를 분리해 검증한다.- BLE Wrapper를 Fake로 바꾸고 이벤트를 테스트에서 직접 주입한다.
ProviderContainer, listener,StreamController의 수명과 소유자를 명확히 한다.